Bella10 Philosophy

BELLA10 PHILOSOPHY

At Bella10, we are all about the natural nails! We know it takes care and time to create a beautiful set of natural nails and smooth, healthy skin and cuticles enhance the overall appearance. Bella10 supports natural nail care through skilled nail technicians, personal nail care and great natural nail care products. We always recommend regular manicures, whither done by a licensed professional or at home, by yourself or with friends. Bella10 does recommend being a knowledgeable consumer when choosing a nail salon, nail technician, nail care product or tool. Bella10 is here to help.

Pages

Showing posts with label Fingernails. Show all posts

Wednesday, July 16, 2014

Fun in the Sun - Color Changing Nail Polish! - Part 2

Welcome to the second half of my summer nail polish surprise!  In my prior post I mentioned that I happened upon a shop called Life on a Sandbar in Nags Head, North Carolina while on a family vacation.   Once there, I saw a sign for a Del Sol Nail Polish.  I was familiar with Del Sol color changing T-shirts, since I purchased one once at a shop in Virginia Beach several years ago.  I didn't realize that  Del Sol offered nail polishes now, so I had to check them out. 

For those who missed my last blog and to those who are unaware, Del Sol makes t-shirts and now nail polishes that change color in the sunlight.  The colors in the products use a technology that was developed by NASA called SpectraChrome.  To explain it simply, SpectraChrome acts like a flower in sunlight, opening when it hits the suns rays to reveal the inner color.  With the nail polishes, it seems that you can have almost any color on the outside and then when the sun hits the SpectraChrome molecule, it opens to reveal it's inner color.  Nina, the manager at  Life on a Sandbar was extremely helpful in finding four polishes for me that had some extreme color changes in the nail polishes.  The second two I want to show you today are Electrik and Glitz & Glam.

I really liked Electrik, and so did some of my clients, because of it's frosted teal blue.  Again, the frosted color went on pretty smoothly, as frosts go, and the color was a gorgeous shade of teal blue.  
While you can't see it so well from these photos, Electrik goes from a teal blue to a Mint Green in full sun.  Check out the next photo to really see the difference.
Again, since I am such a "green girl" I just loved this one.

The next color I want to share with you is a glitter polish called "Glitz & Glam".  It is such a pretty medium iced blue that turns glittery purple in the sunlight.


Even better is a pic of Glitz & Glam in full sunlight!
I have some "die-hard" purple fans amongst my clientele (they know who they are) and I thought they were going to fall off their chair when they saw this color in the sunlight!

I would like to thank the folks at  Life on a Sandbar for introducing me to these fun nail polishes!  And if you wanted to see more of these colors, this is not my last blog on Del Sol color changing nail polish collections.  There are more on their way, complements of the Del Sol shop in beautiful Sedona, AZ.  

If you missed the first blog, check out "Fun in the Sun - Color Changing Nail Polish! - Part 1"  


Don't forget to enter our Del Sol Nail Polish Contest!
Stay tuned for more Del Sol Nail Polish colors to come!

Tuesday, July 8, 2014

Fun in the Sun - Color Changing Polish! - Part 1

Summertime is for fun, sandals, beaches, sand and FUN polish colors!  Sure, you can wear a french but that's boring compared to what I found when I was on vacation on the Outer Banks of North Carolina.


I happened upon a shop called Life on a Sandbar in Nags Head near a fun kite store.  I saw a sign for a Del Sol Nail Polish.  I had been in a Del Sol shop in Virginia Beach, and purchased a T-shirt several years ago, so I was aware of the color changing properties of the Del Sol products.  I didn't realize that they offered nail polishes now, so I had to check these nail polishes.  For those who were unaware, Del Sol makes t-shirts and now nail polishes that change color in the sunlight.  I had purchased a cute black and white t-shirt that, in the sun, changed to beautiful pinks, blues, greens and violets.


The store's manager, Nina, was extremely helpful.  She started showing me the different polishes and found out that I was interested in colors with a more extreme color change.  She shared with me several different colors that were popular and had a great color change.  Nina introduced me to two glitter polishes and two frosted nail polishes.  I will be sharing them with you here in  two part series. (I will apologize now for the quality of some of the photos as some are a bit blurry.)


The first color I'll share is Spike.  Spike is a very pretty frosted mint green.


I loved the consistency of this frosted formula. I know frosts are sometimes hard to apply for most people.  They tend to look streaky, but this formula didn't seem to have that much of an issue to make it look smooth. Since I am a "green" girl, I fell in love with this shade without sunlight, but in the sunlight it turned a light lilac.


The second color I will share with you today has been, so far, my client's favorite!  It's called Ruby Slipper.


Sometimes I wish I was a professional photographer, but alas, my skills are more in manicuring than in photography. I wish my photographic skills were better, but you have to admit, the color change effects with the Del Sol Nail Polishes are stunning.  As I said, this is my client's favorite for now.

I will share with you the next two colors in Part 2 of "Fun in the Sun - Color Changing Polish!" next week!
Enjoy the colors and remember, shop local where you can.  If you find yourself on the Outerbanks of North Carolina, specifically Nags Head, check out the shop Life on a SandbarNina is really helpful and they offer a Buy 3. Get one Free deal on their Del Sol Polishes

You can also find a local Del Sol store by going to http://www.delsol.com/stores.html.  Or you can purchase online at http://www.delsol.com/womens/nail-polish.html.

Bella10 is giving away a free bottle of Del Sol Ruby Slipper and CutiOil,1/2 oz and the 2 oz Refill Size.  To enter click on the link below.

Don't forget to check out "Fun in the Sun - Color Changing Polish!" Part 2.

Tuesday, January 1, 2013

Prevent Polish Chipping and Peeling

This is the most common issue most people have with regular nail polish.  So what are some of the causes of nail polish chipping and peeling?

PROPER NAIL PREP- This is the most important step to prevent polish peeling.  If there is any natural oils on your nails, the polish will peel up, usually in sheets.  To effectively remove oils from your nails without thinning them (ie, buffing), wash your hands with soap and water and use a nail brush to clean around the cuticle and under the nail.  After washing your hands, cleanse the nail surface with a nail prep or rubbing alcohol. After prepping your nails, immediately apply your base coat of polish.  Note: Do not let the nail surface you want to polish touch your skin or hair before you apply your polish.  If you do, you put oil right back on the surface and your polish might peel.
 
USE BASE COAT - Base coat nail polish is usually more "rubberized" than other nail polishes and can cling to the natural nail better than applying polish without it.

USE A TOP COAT- A top coat will not only protect your polish color and add shine but it also adds durability and hardness. After your manicure, if you apply a top coat every 2-3 days after your manicure and cap around the tip of your nail where you file, your polish will last longer than if you do not.

WATER - Washing your hands before you polish is a good idea but too much water after you polish your nails, especially the first 4-6 hours afterward, can be detrimental to your manicure.  In the first 4-6 hours, your polish is still not completely dry, your nails will swell and expand the polish with the nail.  When the nail drys and shrinks back to it's normal size, your polish won't and increase the chance of it chipping when it finally does finish drying.


OLD OR CONTAMINATED POLISH - Old nail polish is thick and hard to work with.  It also takes forever to dry!  Some people decide that they need to thin out their polish with polish remover but this breaks down the polish in a manner that reduces it's adhesion properties.  Thin your polish with Nail Polish Thinner.  This can be found in your local beauty supply.

For more information on how to properly thin out and care for your polish, 

Tuesday, November 20, 2012

Bella10 CutiOil is the Best Cuticle Oil Ever!

I am  always busy!  I work in a salon full time, I write blogs about nail care and nail care products I like, so yes, I'm always busy.  We won't even mention my social life...  But this time I've added more to my busy life.  I've decided to get busy creating my own line of all natural nail care products.  And it feels right!  I feel that it's a natural progression in my career

 Since I've been in the beauty industry for over 30 years, worked with all kinds of products, I know what type of products work and with what kind of ingredients are best.  I've always wanted my own brand of Cuticle Oil, hence my saying "Oil, Oil, Oil" to all my clients and friends.  Oil in the natural nail helps to minimize nail peeling nails and it reduces nail breakage.


Presto!  Bella10 CutiOil!
But I had to have the right combination of natural oils, with natural vitamin content (A,C,D & E), that would hydrate the nail and the cuticle.  I knew that I wanted Almond Oil to soften the nail and allow the nail to bend a little and not break if it was bumped.  I wanted an oil to mimic the skin's own natural sebum.  Luckily, I not only found one in Jojoba Oil but I also found another that I just love, Macadamia Nut Oil.  When our skin slows in producing it's own oil, we need to topically apply something to help the nails and skin stay hydrated.  I also wanted Apricot Kernel Oil because it has a very small molecular structure and can be a carrier oil and draw the extra vitamin E that I wanted to add deeper into the nail itself.  I added a very light Egyptian Geranium and Rose fragrance too.  Wish this screen had a scratch and sniff so I could share how light and beautiful this fragrance really is.

I am very pleased with the mixture of all these fantastic natural oils.  The quality of the cuticle oil compares with some of the major brands that are on the market and the price is better than what you will find too.  I will be retailing CutiOil at only $9.99 per bottle and I am accepting wholesale accounts.

This is just the beginning, as it looks like I have the beginnings of making my own brand. CutiOil is available on the Bella10 website!

Monday, October 22, 2012

Prevent Peeling Nails

In my last post, I told you about an amazing TopInox® Stainless Steel Nail Clipper from Zamberg, that cuts so cleanly, and when used correctly will minimize micro-cracks in the nail plate that cause peeling nails.  Of course, it is always best to clip the nail after the nail has been soaked for at least 2 minutes. 

Clipping the nail is great if you need to take a lot of nail off at one time.  But even after clipping, the nail needs to be filed.  One of the best files I've come across over the years is a glass nail file, and luckily, Zamberg has those too!  Hey, I love one stop shopping!  lol

Check out these beauties!


I love that they have Bling too!

  
I personally like a pointed tip to my personal nail file
so I can clean under my own nails easily.

But seriously...

Glass nail files are gentle, yet effective way of filing the nails and preventing micro-tears between the flattened nail plates.  Micro-cracks and micro-tears can be caused by aggressive filing with a coarse nail file.  Also remember that filing the nails should always be from the side to the tip.  As shown below.

Artwork by Dawn Loberg, from "The Secret to Beautiful Natural Nails"


 Also, angle your file as shown here.

Artwork by Dawn Loberg, from "The Secret to Beautiful Natural Nails"

When ever you file, you will find small frays that stick out.  Be certain to gently file or buff that off with a light touch with your file or a very fine nail file or buffer.  A fray is an over-sized micro-tear. The less pressure with the file will be gentler to the natural nail and a nice glass file will do this beautifully.

Thanks for stopping by.  Hope you learned something new!

Want to know more on how to prevent peeling nails? Then you need to know about

 "Bella10 CutiOil is the Best Cuticle Oil Ever!"

Bella10 CutiOil is available at Bella10.com


Friday, September 28, 2012

Nail Polish Techniques Made Simple

I've shown many people how to polish a nail so that they do not get the polish on the cuticle.  I even describe in in my book "The Secret to Beautiful Natural Nails".  I describe it as a 4 Stroke Method, until now!  I love this easy visual from The Polished Perfectionist.  The reason I love it so much is it shows the initial polish brush placement on the nail.

1. Place the polish brush on the nail and fan out the brush slightly
2. Push the fanned out polish brush slowly toward the cuticle making certain to leave a "hairline" area bare between the cuticle and the polish.
3. Pull the polish brush to the tip of the finger.
4. Polish one side by placing the brush to the side of your original starting area and fill in the one side without touching the skin
5. Polish the other side
6. Polish the very tip of the nail where you would file it.

Don't forget when you are polishing your nails it is important to use a base coat (it holds the color to the nail and prevents chipping and peeling), your color (usually 2 coats) and a top coat (for shine and increased durability).

If you get a little polish on your skin, have an manicure stick handy.  Apply your top coat and apply a small amount of the top coat to your skin where the color is.  Wipe off the topcoat and color polish from your skin, avoiding the nail itself.  No polish remover necessary if you are dealing with a small area.  To help with drying, apply a cuticle oil, like CutiOil, to the cuticle area of your nails (don't be afraid to be generous) and have a cup of ice handy.  The cold cup of ice chills your fingertip as you hold the cup and sets your polish up faster.   It usually take 15 minutes for your polish to set up enough not to smudge and about an hour for it to not dent.

For further reading on Natural Nail Care, see 

"8 Tips on How to Grow your Nails Faster and Stronger" 

Thursday, September 13, 2012

Maintaining Your Favorite Nail Polish - Nail Polish Series - Part 3

We all have that favorite bottle of nail polish... You know the one.  In Part 1, you learned how to revive and thin out your old polish. You could try to do that again but you've already thinned it two or three times.  If you thin it one more time, it'll start chipping sooner.  In Part 2, you found out how to keep your nail polish from getting thick too soon, just by keeping the neck and cap clean.  So now what?   It's such a waste when only get a half of the color out of the bottle before you have to throw it away.  There is an answer.

If you have a specific nail polish color that you really like, you should buy two bottles of the polish color.  

Use one of them to polish your nails.  
Use the second bottle to refill and refresh the first bottle!  
Simple!  

Clean the neck and the cap of the bottle you use to polish with.
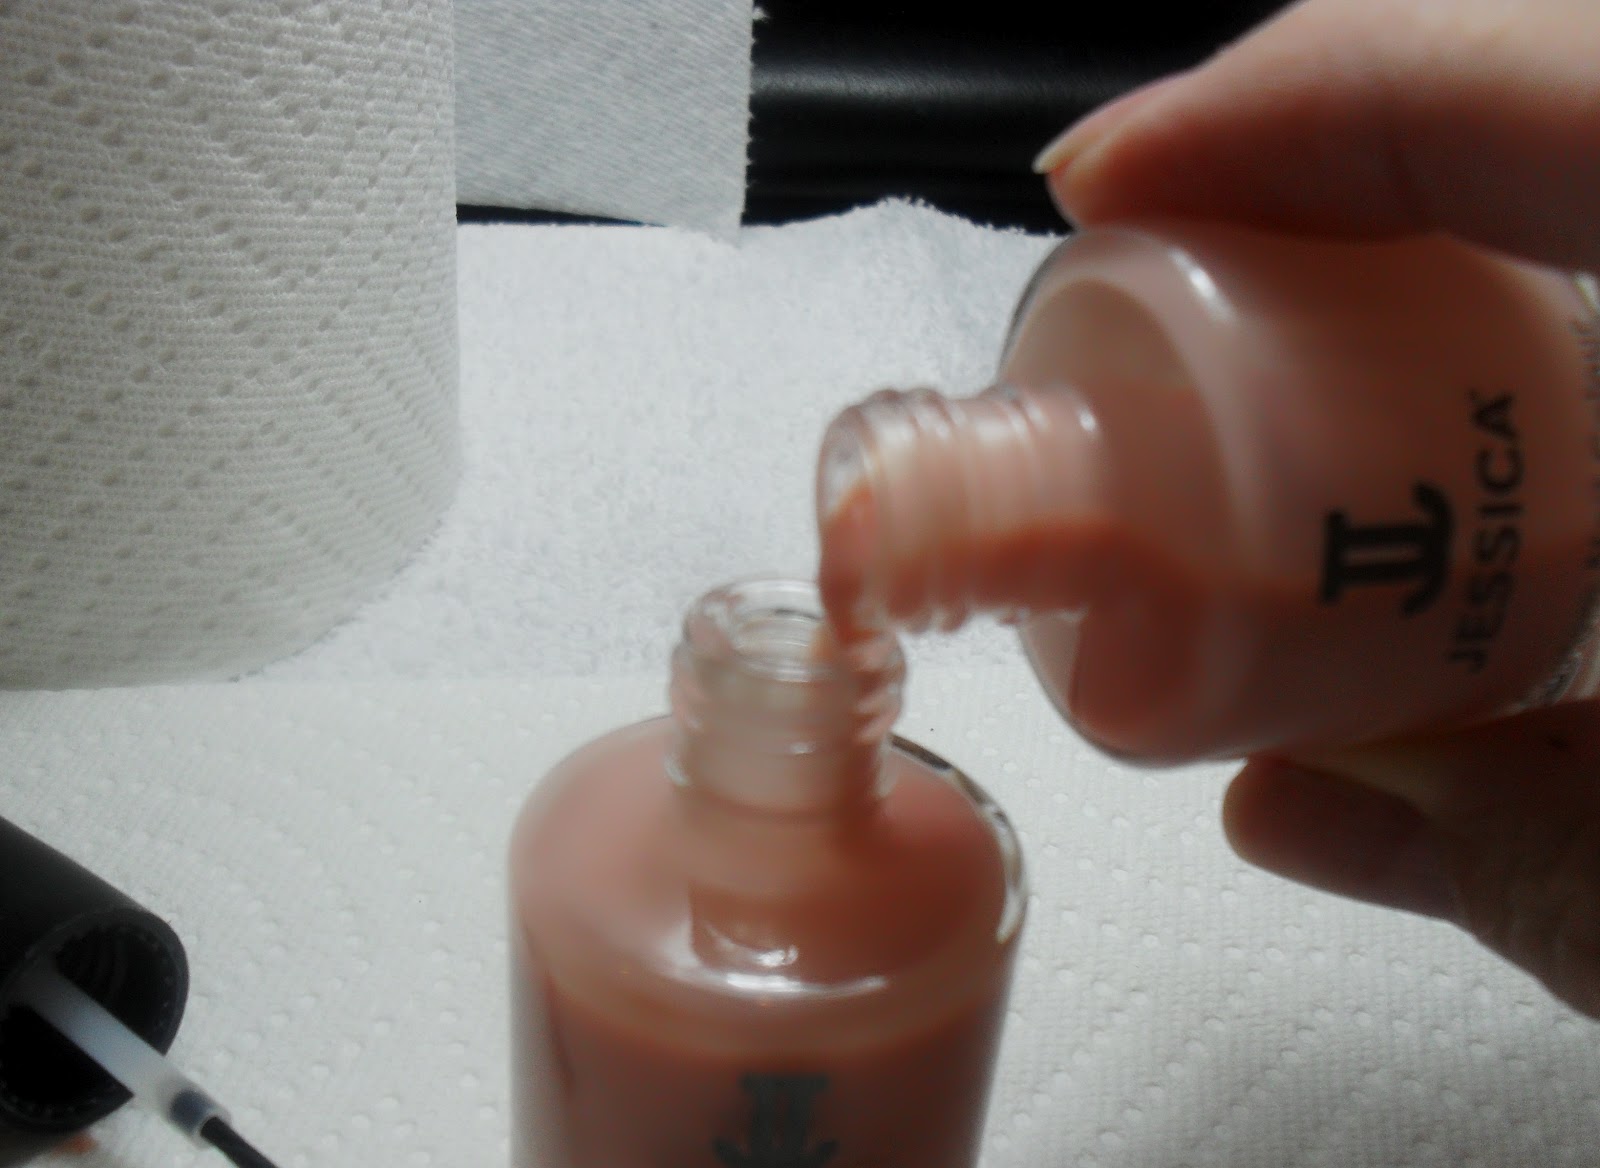
Use your "refill" bottle to fill up your "polishing" bottle.
Fill a small amount of your "polishing" bottle 
with some fresh base coat of the same brand. 
Remember to keep the necks of all the bottles free of any spilled polish.
Cap your bottles then shake the "polishing" bottle 
to mix the fresh polish in with the older polish.  
If you plan to use it right away, you should let all the bubbles inside settle first.
You now have a fresh bottle to polish with and you can store 
your "refill" bottle somewhere away from direct sunlight and heat 
so you can use it again when you need it.
This way, you get one and a half bottles of the polish color out of the two bottles instead of only getting half of the color out of each bottle.

Keep all your polishes fresh this way.

I even keep a large bottle of base coat to refill the bottle I use regularly.

Using this technique, you won't degrade the integrity of the nail polish and it will be less likely to chip later as it wears on the nail.


I hope you've enjoyed the Nail Polish Series.  Send me a message if there is a topic about Natural Nails, Nail Care or Nail Polish that you would like some insight into.  I'm happy to share my knowledge and experience!

Friday, September 7, 2012

Caring for Your Nail Polish – Nail Polish Series – Part 2


     We all have that favorite bottle of nail polish in our private collections that we absolutely love but it’s beyond saving.  We can’t open the bottle, and if we can, it’s a goopy mess and our heart breaks when we hear it go “thud” in the garbage can.  How could we have let our favorite color get so bad.

     The key is to not let nail polish build up around the neck of the bottle or up into the cap.  When the polish builds up on the neck and cap of the bottle, it allows air into the bottle which then thickens the nail polish.  In Part 1, we learned how to revive that old bottle of nail polish that was hard to open and was practically too thick to use.  Now we are going to see how easy it is to prevent that from happening too fast.  And you don’t need to keep your nail polish in the refrigerator (see “Keeping Your Polish Fresh”)

     It’s all in how you wipe the excess nail polish from the brush before applying it to your nail.

This is not the proper way to wipe off excess nail polish.  


     This will definitely allow the nail polish to build up around the neck of the bottle very fast.  If you insist on doing it this way, be prepared to wipe off the neck of the bottle every time you polish, before you tighten the lid, to prevent it from getting into the cap.

An easy way to minimize polish on the neck of the bottle 
is to wipe off the nail polish this way.   


     You may need to clean this up every few times you use the polish because it you may still get a little polish on the neck of the bottle.  The nice part is that it won’t be as often and all your excess polish goes back inside the bottle instead of on the neck and inside the cap.

Watch for Part 3 in the Nail Polish Series “Maintaining Your Favorite Nail Polish”

Monday, September 3, 2012

Reviving Old Nail Polish - Nail Polish Series Part 1

       Working as a nail technician, you learn quickly that you need to maintain your nail polish collection for optimum use and to save $Money$!  Today I'm going to show you how to reclaim an old, and probably favorite, bottle of nail polish.  We all have something like this lying around.  When you shake it, you can barely hear the metal blending beads.  And trying to open it is nearly impossible.  I'm not saying every bottle of nail polish can be saved, especially if it is too far gone.  Once some of them have been saved, they still may not last as long as you want and eventually you will have to purchase a new bottle.  We’ll cover “Getting the Most Out of Your Nail Polish” in    Part 3.
Today, we'll be saving OPI's Ruble For Your Thoughts
It's pretty thick and I can barely hear the blending beads.
 For this task, we’ll need Polish Remover, an Eye Dropper, 
Polish Thinner and a Base Coat Nail Polish. 
     If you cannot open the bottle, one of the best methods I've found is to put polish remover inside the lid of the polish bottle.  Turn the bottle up-side-down and slowly drip polish remover down the side of the bottle, so that it runs down the side and fills the cap with remover.  Let it sit this way for about 10-15 minutes.  I found that this works better than hot water poured on the cap.  But keep that method in mind if this doesn't work easily.  Let’s just hope we don’t need a pair of pliers to grab a hold of the lid.  Do not use the pliers on the glass part of the bottle!
After you get the bottle open, you'll notice that if you 
try to apply the nail polish, it goes on "goop-ey".
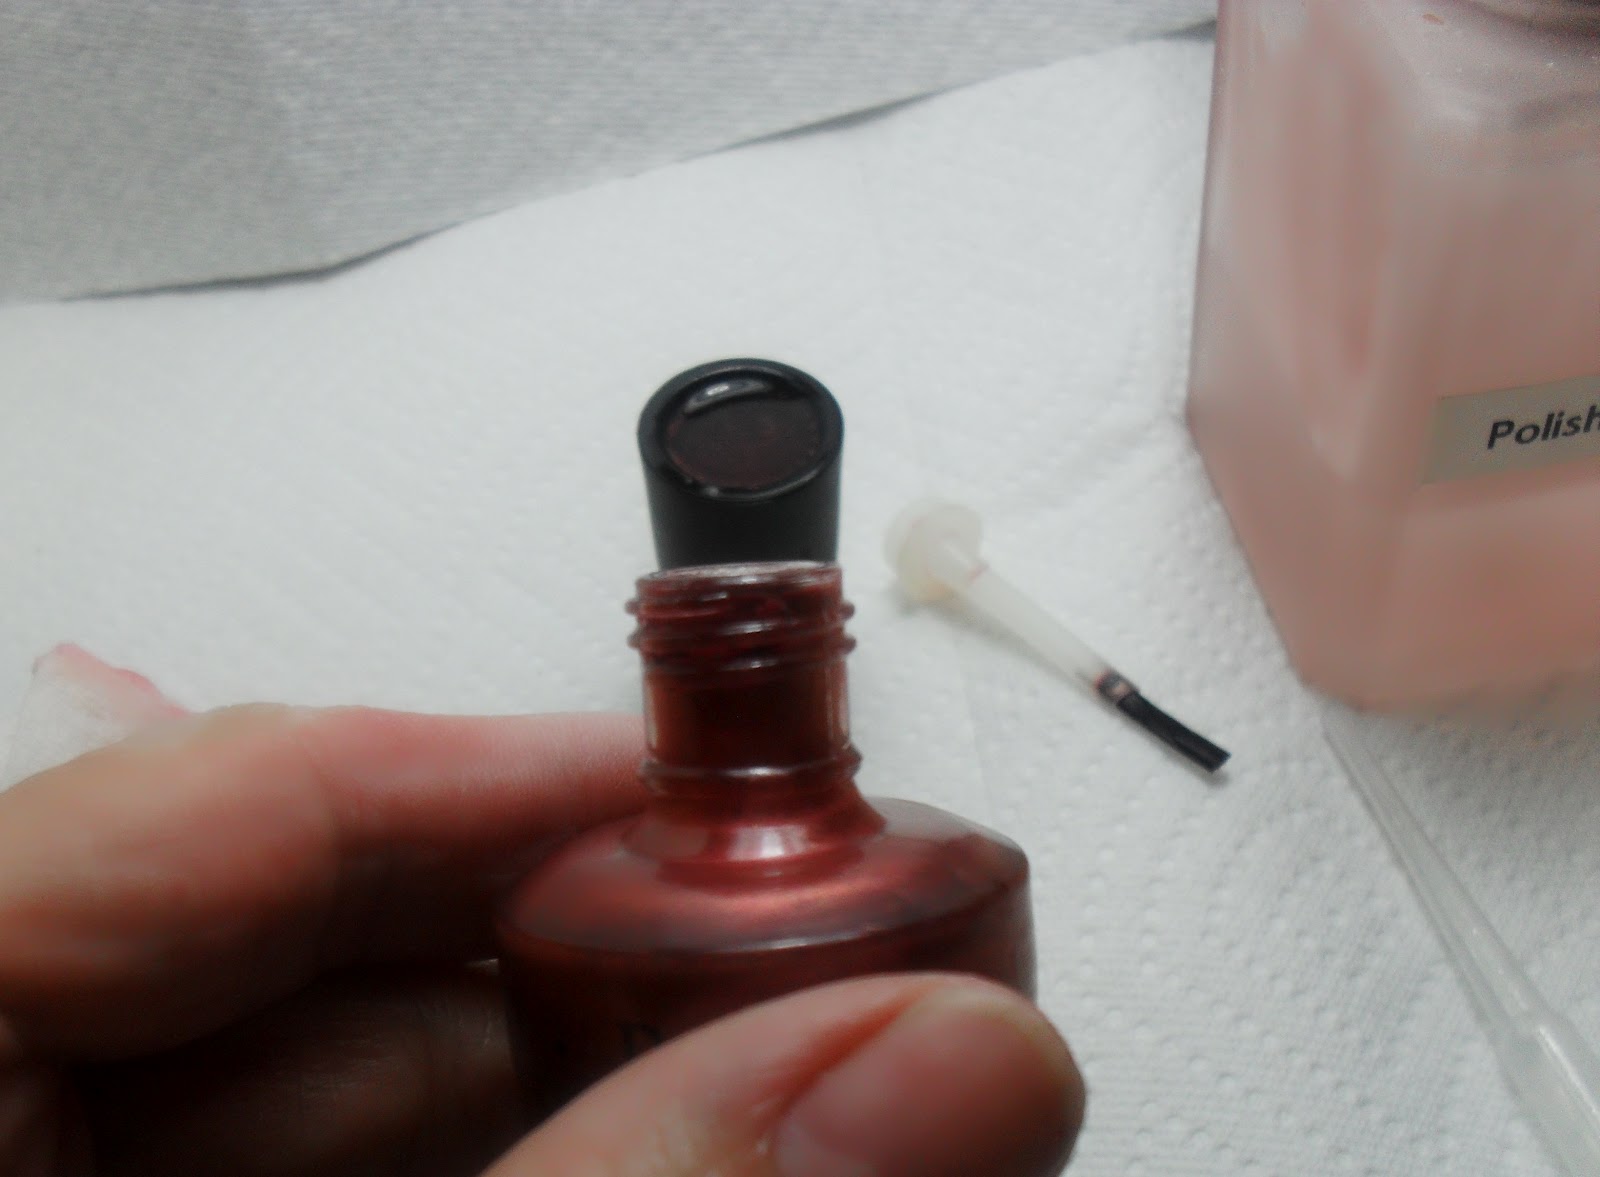
Look at all the nail polish on the neck of the bottle and inside the cap.  
This is what was gluing your bottle shut.  
We'll need to clean this up first.


Remove the brush stem from the cap with a lint free paper towel 
soaked with polish remover.  
This will aid you with cleaning it easily.   
Then fill the cap with polish remover and let it soak and soften.
 Clean the neck of the bottle. 


 After 10-15 minutes, clean out the inside of the cap 
by stuffing the paper towel down inside and twisting the cap 
like you are tightening the cap onto the paper towel.  
You may need to re-soak to get all the nail polish 
out from the inside of the cap.
Now it’s time to thin the polish and make it work-able.  
Here, you will need a nail polish (or nail lacquer) thinner 
and a base coat nail polish.  
It is always optimal, but not always necessary, to use matching brands, 
such as OPI for the thinner.  I do not have an OPI base coat, 
I only have a Jessica base coat for this demonstration. 
Add enough polish thinner so that the blending beads move freely. 
*Note* Do not use polish remover as your thinner.  
It breaks down the polish but in a manner that 
the nail polish qualities become compromised. 
 In other words, your favorite nail polish will probably 
chip faster than it ever did before.
Now add a little of your base coat nail polish to increase adhesion 
to the nail and minimize the risk of chipping polish.
Replace the brush stem and the cap and tighten the cap on to the bottle.   
Shake the bottle vigorously to blend everything together

You will find that the polish will apply smoother 
with less streaking and last you a little bit longer overall.  
I hope you learned something from this tutorial.  
Stay tuned for Part 2 of the Nail Polish Series where 
I will show you how to easily prevent the build up of nail polish that 
threatens to thicken your polish once more called “Caring for Your Nail Polish”