Bella10 Philosophy

BELLA10 PHILOSOPHY

At Bella10, we are all about the natural nails! We know it takes care and time to create a beautiful set of natural nails and smooth, healthy skin and cuticles enhance the overall appearance. Bella10 supports natural nail care through skilled nail technicians, personal nail care and great natural nail care products. We always recommend regular manicures, whither done by a licensed professional or at home, by yourself or with friends. Bella10 does recommend being a knowledgeable consumer when choosing a nail salon, nail technician, nail care product or tool. Bella10 is here to help.

Pages

Friday, September 28, 2012

Nail Polish Techniques Made Simple

I've shown many people how to polish a nail so that they do not get the polish on the cuticle.  I even describe in in my book "The Secret to Beautiful Natural Nails".  I describe it as a 4 Stroke Method, until now!  I love this easy visual from The Polished Perfectionist.  The reason I love it so much is it shows the initial polish brush placement on the nail.

1. Place the polish brush on the nail and fan out the brush slightly
2. Push the fanned out polish brush slowly toward the cuticle making certain to leave a "hairline" area bare between the cuticle and the polish.
3. Pull the polish brush to the tip of the finger.
4. Polish one side by placing the brush to the side of your original starting area and fill in the one side without touching the skin
5. Polish the other side
6. Polish the very tip of the nail where you would file it.

Don't forget when you are polishing your nails it is important to use a base coat (it holds the color to the nail and prevents chipping and peeling), your color (usually 2 coats) and a top coat (for shine and increased durability).

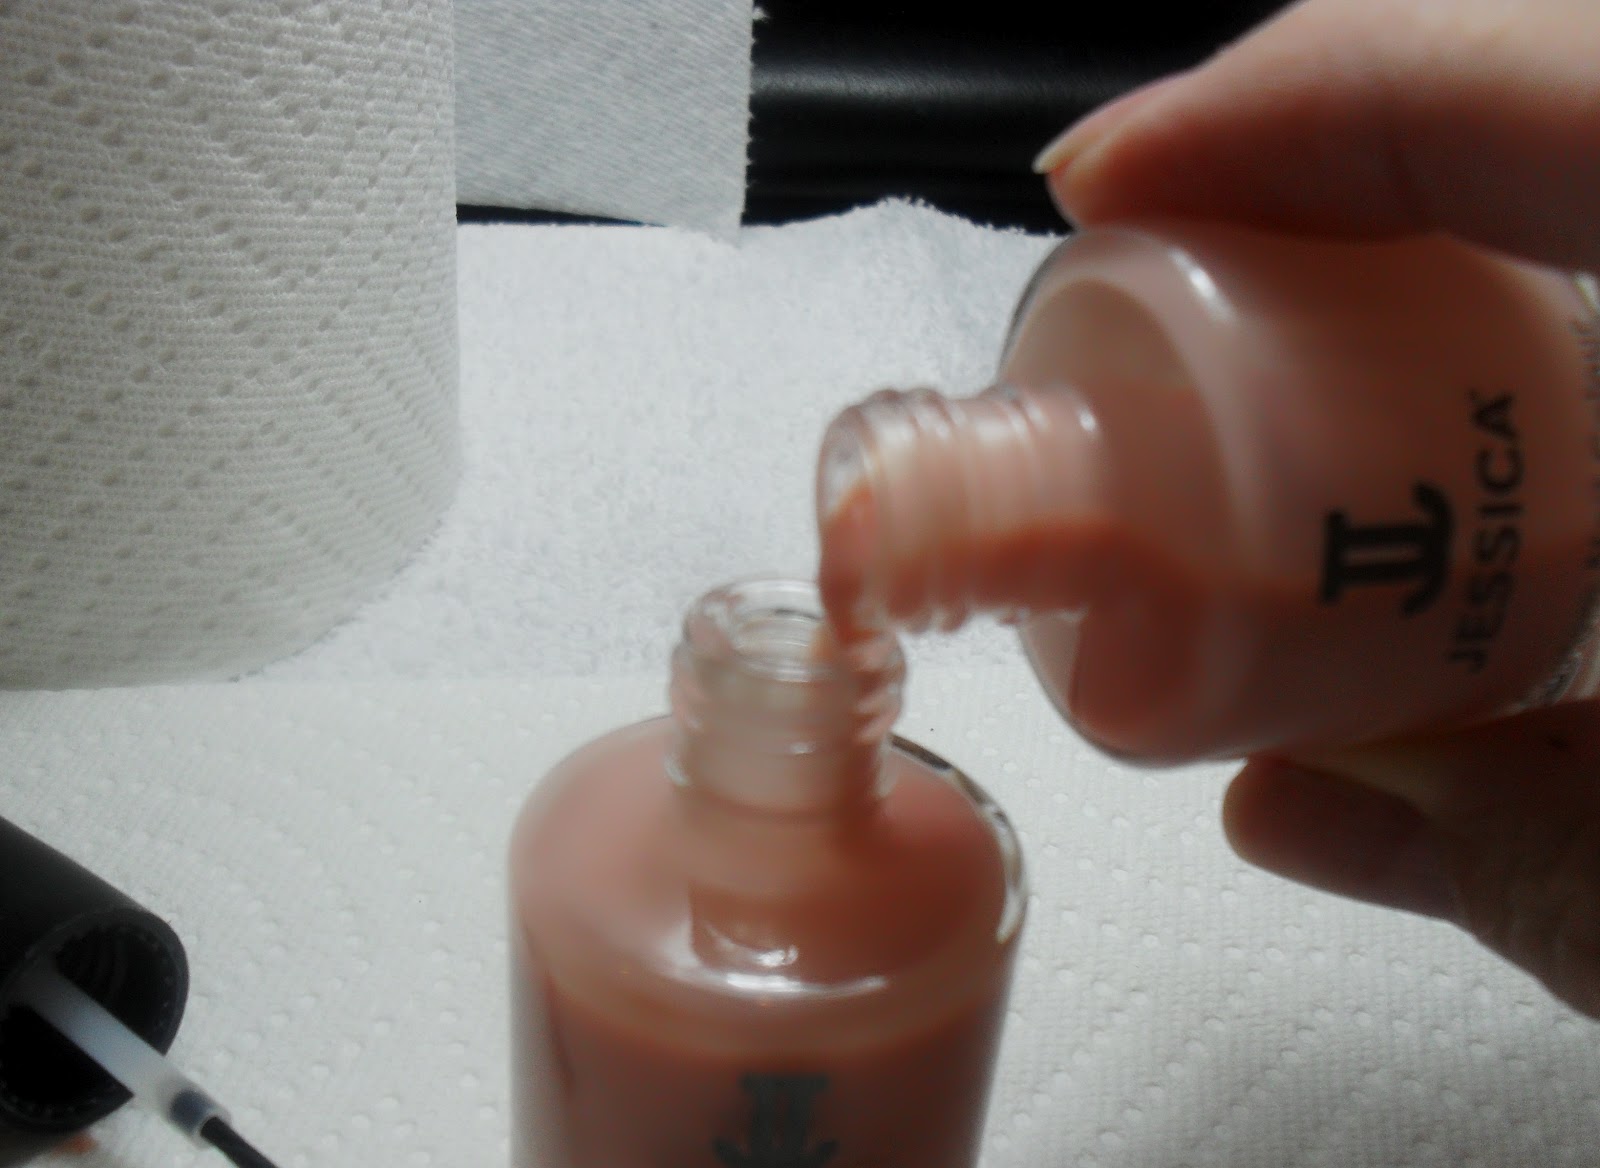
If you get a little polish on your skin, have an manicure stick handy.  Apply your top coat and apply a small amount of the top coat to your skin where the color is.  Wipe off the topcoat and color polish from your skin, avoiding the nail itself.  No polish remover necessary if you are dealing with a small area.  To help with drying, apply a cuticle oil, like CutiOil, to the cuticle area of your nails (don't be afraid to be generous) and have a cup of ice handy.  The cold cup of ice chills your fingertip as you hold the cup and sets your polish up faster.   It usually take 15 minutes for your polish to set up enough not to smudge and about an hour for it to not dent.

For further reading on Natural Nail Care, see 

"8 Tips on How to Grow your Nails Faster and Stronger" 

Monday, September 24, 2012

Trip to a Nail Salon

A regular client of mine came in the other day and wanted to tell me a story about her trip to Texas and a nail salon that she visited with her son.  They wanted to get a pedicure together.  She remembered all I told her about how to make certain that the salon and the technician were clean and especially sanitized.  (See "Finding a "Well-Manicured" Nail Salon/Technician")

She told me that one of the first things she noticed was that the technician brought out the implements and they were in a sealed bag.  She said that she thought, "This is a good sign".  But then she noticed that they used some of the same implements between herself and her son.  She then started to notice more!  She didn't see anyone clean the foot bath before they sat down for the pedicure and didn't see any of the foot baths being cleaned in between the other clients.  That's when she started praying "please don't cut me, please don't break my skin"!

The part that shocked her the most was after the pedicure, she saw the technician rinse the pedicure implements in cold, and she emphasized it wasn't hot, water, dry off the implements in a towel then put the implements back into the bag and resealed the bag.  Ugh!   They hadn't even been sanitized!  And they were probably like that before they were used on her!

In a salon, implements need to be sanitized for a minimum of 10 minutes in disinfectant that kills bacteria, viruses, fungus and tuberculosis.  Pedicure foot baths must be cleaned out and sanitized with the same type of disinfectant between every client!  There are many different products that can be used to disinfect properly.  Some of them are Barbicide, Ultracare, Cavicide and Citrus II Germicidal Cleaner (all are registered trademark). 
Who wouldn't want a quality manicure set? This one is Awesome!!!
INOX Stainless Steel Manicure Set in Nappa-Leather Case
Here is where I would suggest that more people should start bringing their own implements unless you know for a fact that the salon and technician are cleaning and sanitizing regularly between clients.  I have found a few manicure sets through a company called Zamberg.  They have high quality manicure and pedicure implements along with complete manicure sets that will last you a lifetime compared to the cheap tools you find elsewhere.  The nice thing is that you can sanitize your own implements with something as simple as alcohol.

Thursday, September 13, 2012

Maintaining Your Favorite Nail Polish - Nail Polish Series - Part 3

We all have that favorite bottle of nail polish... You know the one.  In Part 1, you learned how to revive and thin out your old polish. You could try to do that again but you've already thinned it two or three times.  If you thin it one more time, it'll start chipping sooner.  In Part 2, you found out how to keep your nail polish from getting thick too soon, just by keeping the neck and cap clean.  So now what?   It's such a waste when only get a half of the color out of the bottle before you have to throw it away.  There is an answer.

If you have a specific nail polish color that you really like, you should buy two bottles of the polish color.  

Use one of them to polish your nails.  
Use the second bottle to refill and refresh the first bottle!  
Simple!  

Clean the neck and the cap of the bottle you use to polish with.
Use your "refill" bottle to fill up your "polishing" bottle.
Fill a small amount of your "polishing" bottle 
with some fresh base coat of the same brand. 
Remember to keep the necks of all the bottles free of any spilled polish.
Cap your bottles then shake the "polishing" bottle 
to mix the fresh polish in with the older polish.  
If you plan to use it right away, you should let all the bubbles inside settle first.
You now have a fresh bottle to polish with and you can store 
your "refill" bottle somewhere away from direct sunlight and heat 
so you can use it again when you need it.
This way, you get one and a half bottles of the polish color out of the two bottles instead of only getting half of the color out of each bottle.

Keep all your polishes fresh this way.

I even keep a large bottle of base coat to refill the bottle I use regularly.

Using this technique, you won't degrade the integrity of the nail polish and it will be less likely to chip later as it wears on the nail.


I hope you've enjoyed the Nail Polish Series.  Send me a message if there is a topic about Natural Nails, Nail Care or Nail Polish that you would like some insight into.  I'm happy to share my knowledge and experience!

Friday, September 7, 2012

Caring for Your Nail Polish – Nail Polish Series – Part 2


     We all have that favorite bottle of nail polish in our private collections that we absolutely love but it’s beyond saving.  We can’t open the bottle, and if we can, it’s a goopy mess and our heart breaks when we hear it go “thud” in the garbage can.  How could we have let our favorite color get so bad.

     The key is to not let nail polish build up around the neck of the bottle or up into the cap.  When the polish builds up on the neck and cap of the bottle, it allows air into the bottle which then thickens the nail polish.  In Part 1, we learned how to revive that old bottle of nail polish that was hard to open and was practically too thick to use.  Now we are going to see how easy it is to prevent that from happening too fast.  And you don’t need to keep your nail polish in the refrigerator (see “Keeping Your Polish Fresh”)

     It’s all in how you wipe the excess nail polish from the brush before applying it to your nail.

This is not the proper way to wipe off excess nail polish.  


     This will definitely allow the nail polish to build up around the neck of the bottle very fast.  If you insist on doing it this way, be prepared to wipe off the neck of the bottle every time you polish, before you tighten the lid, to prevent it from getting into the cap.

An easy way to minimize polish on the neck of the bottle 
is to wipe off the nail polish this way.   


     You may need to clean this up every few times you use the polish because it you may still get a little polish on the neck of the bottle.  The nice part is that it won’t be as often and all your excess polish goes back inside the bottle instead of on the neck and inside the cap.

Watch for Part 3 in the Nail Polish Series “Maintaining Your Favorite Nail Polish”

Monday, September 3, 2012

Reviving Old Nail Polish - Nail Polish Series Part 1

       Working as a nail technician, you learn quickly that you need to maintain your nail polish collection for optimum use and to save $Money$!  Today I'm going to show you how to reclaim an old, and probably favorite, bottle of nail polish.  We all have something like this lying around.  When you shake it, you can barely hear the metal blending beads.  And trying to open it is nearly impossible.  I'm not saying every bottle of nail polish can be saved, especially if it is too far gone.  Once some of them have been saved, they still may not last as long as you want and eventually you will have to purchase a new bottle.  We’ll cover “Getting the Most Out of Your Nail Polish” in    Part 3.
Today, we'll be saving OPI's Ruble For Your Thoughts
It's pretty thick and I can barely hear the blending beads.
 For this task, we’ll need Polish Remover, an Eye Dropper, 
Polish Thinner and a Base Coat Nail Polish. 
     If you cannot open the bottle, one of the best methods I've found is to put polish remover inside the lid of the polish bottle.  Turn the bottle up-side-down and slowly drip polish remover down the side of the bottle, so that it runs down the side and fills the cap with remover.  Let it sit this way for about 10-15 minutes.  I found that this works better than hot water poured on the cap.  But keep that method in mind if this doesn't work easily.  Let’s just hope we don’t need a pair of pliers to grab a hold of the lid.  Do not use the pliers on the glass part of the bottle!
After you get the bottle open, you'll notice that if you 
try to apply the nail polish, it goes on "goop-ey".
Look at all the nail polish on the neck of the bottle and inside the cap.  
This is what was gluing your bottle shut.  
We'll need to clean this up first.


Remove the brush stem from the cap with a lint free paper towel 
soaked with polish remover.  
This will aid you with cleaning it easily.   
Then fill the cap with polish remover and let it soak and soften.
 Clean the neck of the bottle. 


 After 10-15 minutes, clean out the inside of the cap 
by stuffing the paper towel down inside and twisting the cap 
like you are tightening the cap onto the paper towel.  
You may need to re-soak to get all the nail polish 
out from the inside of the cap.
Now it’s time to thin the polish and make it work-able.  
Here, you will need a nail polish (or nail lacquer) thinner 
and a base coat nail polish.  
It is always optimal, but not always necessary, to use matching brands, 
such as OPI for the thinner.  I do not have an OPI base coat, 
I only have a Jessica base coat for this demonstration. 
Add enough polish thinner so that the blending beads move freely. 
*Note* Do not use polish remover as your thinner.  
It breaks down the polish but in a manner that 
the nail polish qualities become compromised. 
 In other words, your favorite nail polish will probably 
chip faster than it ever did before.
Now add a little of your base coat nail polish to increase adhesion 
to the nail and minimize the risk of chipping polish.
Replace the brush stem and the cap and tighten the cap on to the bottle.   
Shake the bottle vigorously to blend everything together

You will find that the polish will apply smoother 
with less streaking and last you a little bit longer overall.  
I hope you learned something from this tutorial.  
Stay tuned for Part 2 of the Nail Polish Series where 
I will show you how to easily prevent the build up of nail polish that 
threatens to thicken your polish once more called “Caring for Your Nail Polish”

Monday, August 27, 2012

How to Remove Acrylic Nails, Gel Nails, and Gel Polish

          I have heard an excessive amount of horror stories from ladies who go to certain nail salons for acrylic or gel nail repair or nail removal.   What makes these stories horrific is when I hear how they have had the artificial nail removed!  Ladies, it is UNACCEPTABLE, nor is it protocol, to rip off the acrylic or gel nail.  Fast… Yes.  Painful… Extremely!  Can they be removed easily and without pain?  Absolutely Yes!!!

          What type of nail do you have?  It is very easy to tell.  If a liquid is dipped into a powder then it is an Acrylic product.  If the product comes out of a pot or bottle already mixed and it is very clear and then each layer is cured under a gel lamp, then it is a Gel nail.  Some women are told that they have Gel nails when in fact they have Acrylic nails with a Gel overlay.  If a liquid and powder is mixed, placed on the nail, filed and then a clear product is placed on the nail and cured under a gel lamp, then you have an Acrylic nail with a Gel sealer.  So how are these types of nails supposed to be removed?
           Acrylic nails, with or without a Gel Sealer, are the easiest to remove without damage, provided you are not wearing MMA Acryilc Nails.  This technique can also be used to remove Gel polish and Shellac Polish in only 10 minutes.  For Acrylic or soak off Gel nails, just follow these simple steps:
1.       If the nail is very thick or you have a Gel Sealer on your nails, file down the thickness and/or gloss without filing into the natural nail.
2.       Place a piece of cotton, saturated in pure acetone, on your nail.
3.       Wrap the tip of your finger in aluminum foil, shiny side facing in toward your nail to hold in the heat of your finger.
4.       After approximately 10 – 15 minutes, remove the foil and cotton and GENTLY scrap off the acrylic product with a wooden manicure stick. For Gel polish and Shellac polish, you can just clean the nail with the remaining cotton to remove any additional residue.
5.       Repeat this process until the entire acrylic nail is removed.
          With Gel nails (unless it is a Soak Off Gel), it is a little more precise.  You must simply file it off, being careful not to file too much into the natural nail.  Start from a coarse nail file and work your way to a finer file, the closer you get to your natural nail.
          Once the nail is removed, you can replace the nail or lightly buff the nail and apply a nail strengthener of your choice.  Some of my favorite “after artificial nails” products are Jessica’s Restoration Base Coat and Salon Science’s Starting Over After Artificials.  Plus, there is a host of other great nail strengthening products such as OPI’s Nail Envy, Nailtrition, Nail Magic by Haken, American Classic’s Gelous Nail Gel Polish, CND’s Toughen Up, Essie’s Millionails, and many, many more, too many to mention.
       
          Again, it doesn’t matter if you remove the artificial nail at home or in the salon, it should not be painful. 

Remember… Pain equals more damage to the natural nail.
          Don’t put yourself through the torture of having your nails ripped off!  If you are in the nail salon, and if the technician is about to try to rip your acrylic or gel nail off, tell them NO.  Tell them you want them removed the safe way.  And if they won’t do it, get up and leave. Have your Acrylic or Gel nails removed the safe way only, and know your natural nails will be better for it.


You can recover from artificial nails!
Caring for your nails and skin is easy if you just take a little time and use good products on your skin and your hands.


If you want to learn what to do with your nails after you've removed your acrylic or gel, see the blog post  

"The Secret to Artificial Nail Recovery"

Saturday, August 11, 2012

FINDING A “well manicured” NAIL SALON/TECHNICIAN


Part 4 of 4


Congratulations!  You’ve found a great salon and a fantastic nail technician.  Here are just a few added practices that you can do for yourself and for your nail technician.

A Few Added Guidelines
1.      Never shave or wax your legs within 24 hours of a pedicure. Don’t leave yourself open by giving bacteria or infection a way into your skin and body.
2.      Cutting callus (especially with a razor), cutting ingrown toenails or cutting live skin is not permitted in a salon environment.  These types of procedures are for the doctor’s office only. Please do not expect your nail technician to act as a physician.
3.      Do not expect service to be performed on any infected area (skin, nail, foot, etc), please see a physician before attempting any kind of nail service. 
4.      You should not go to a nail salon for a services if you have a contagious or infectious disease (fungus, athlete’s foot , eczema) or any other unhealthy conditions of the skin or feet.
5.      For those who are unaware, nail service prices usually do not usually include a tip for the technician.  Please use the same tipping principles for your technician as you would for a waitress or waiter.

Just a few simple steps to assure your perfect nail experience! Manicures and pedicures are a wonderful way to relax and take care of yourself, just be informed and sit back and let your favorite nail tech lead the way!  And may you both enjoy each other’s friendship for many years to come!
 

The Basics
A Simple Checklist
Five Easy Questions