Bella10 Philosophy

BELLA10 PHILOSOPHY

At Bella10, we are all about the natural nails! We know it takes care and time to create a beautiful set of natural nails and smooth, healthy skin and cuticles enhance the overall appearance. Bella10 supports natural nail care through skilled nail technicians, personal nail care and great natural nail care products. We always recommend regular manicures, whither done by a licensed professional or at home, by yourself or with friends. Bella10 does recommend being a knowledgeable consumer when choosing a nail salon, nail technician, nail care product or tool. Bella10 is here to help.

Pages

Showing posts with label Acetone. Show all posts

Thursday, September 13, 2012

Maintaining Your Favorite Nail Polish - Nail Polish Series - Part 3

We all have that favorite bottle of nail polish... You know the one.  In Part 1, you learned how to revive and thin out your old polish. You could try to do that again but you've already thinned it two or three times.  If you thin it one more time, it'll start chipping sooner.  In Part 2, you found out how to keep your nail polish from getting thick too soon, just by keeping the neck and cap clean.  So now what?   It's such a waste when only get a half of the color out of the bottle before you have to throw it away.  There is an answer.

If you have a specific nail polish color that you really like, you should buy two bottles of the polish color.  

Use one of them to polish your nails.  
Use the second bottle to refill and refresh the first bottle!  
Simple!  

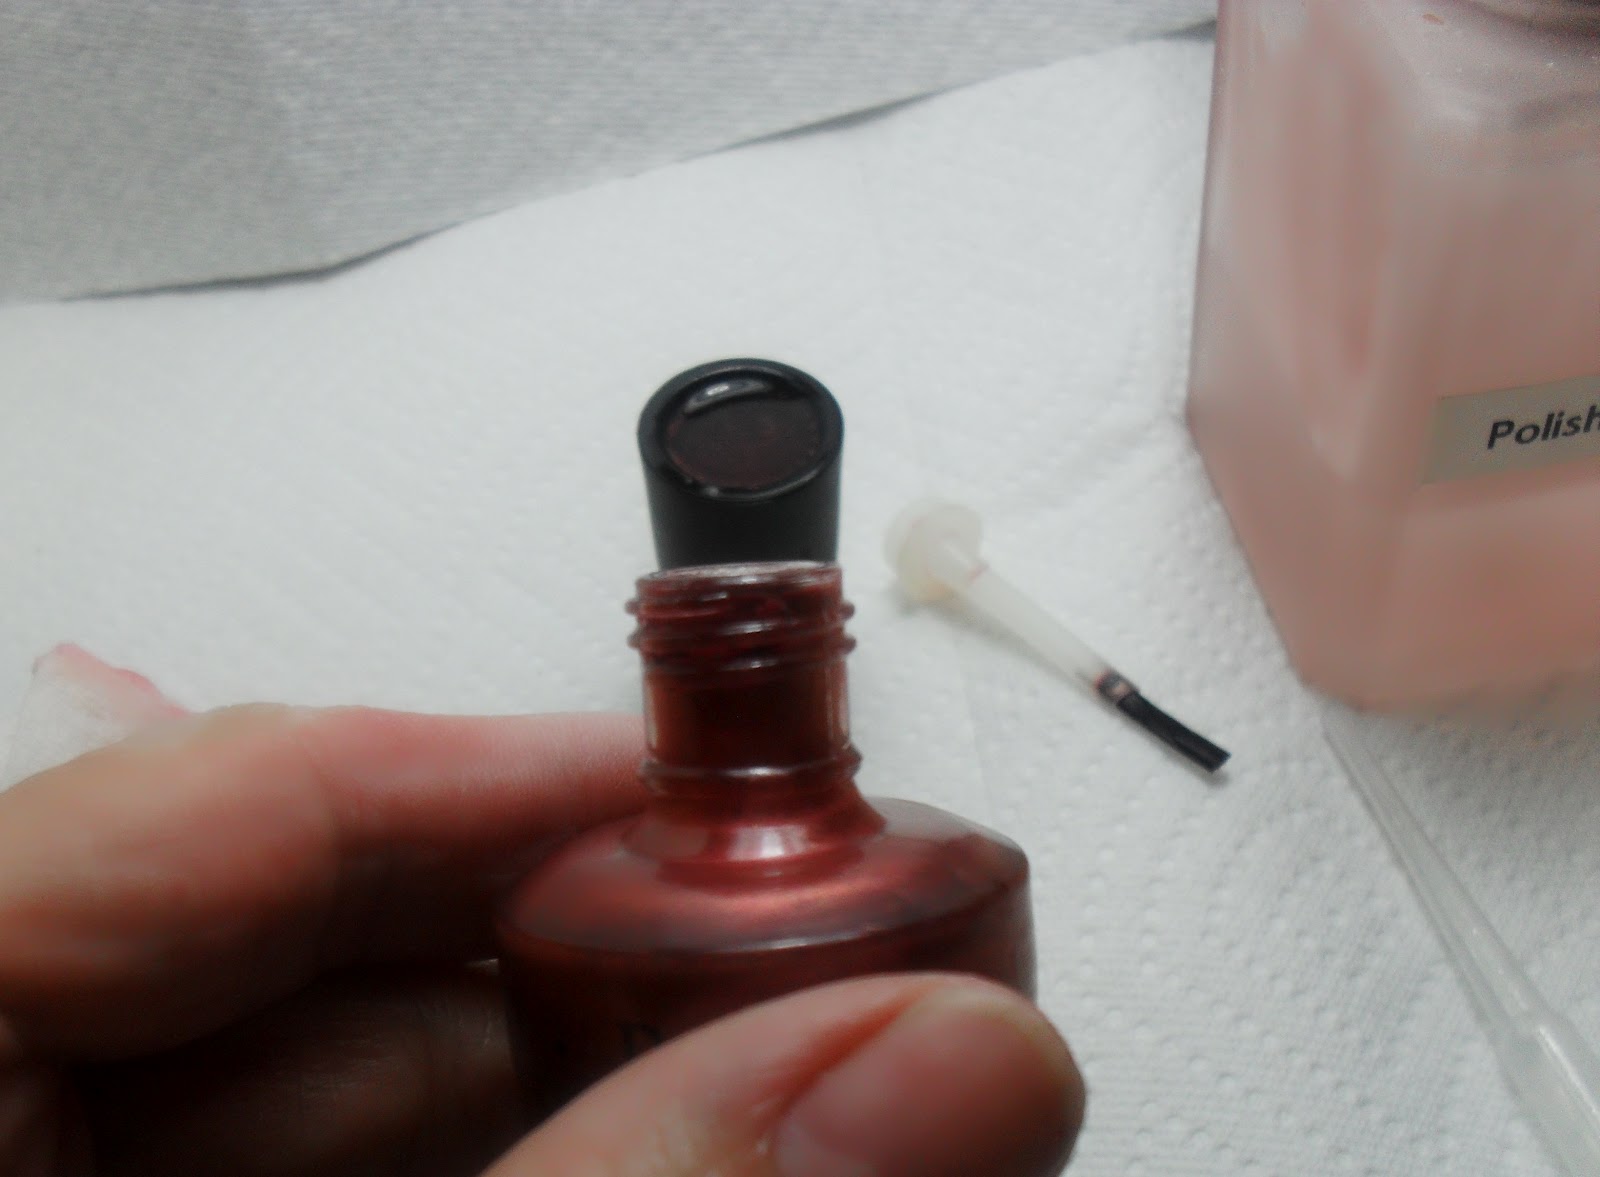
Clean the neck and the cap of the bottle you use to polish with.
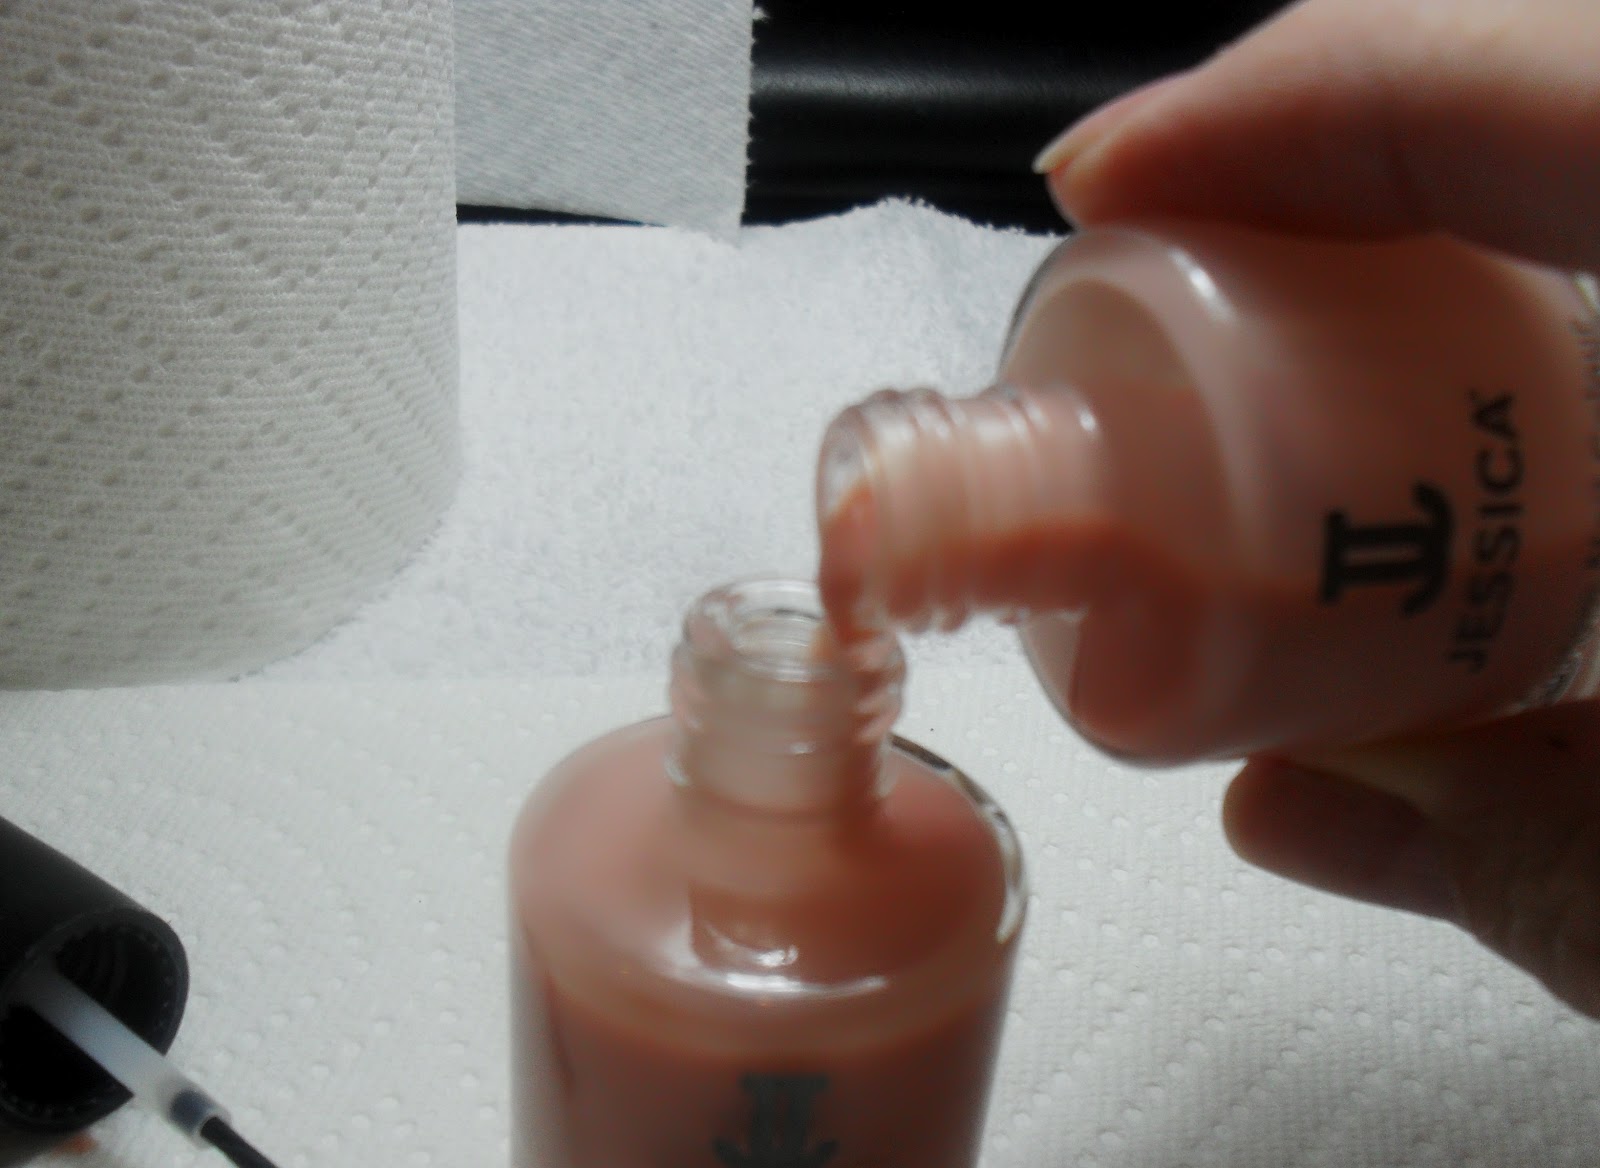
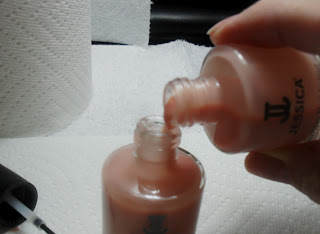
Use your "refill" bottle to fill up your "polishing" bottle.
Fill a small amount of your "polishing" bottle 
with some fresh base coat of the same brand. 
Remember to keep the necks of all the bottles free of any spilled polish.
Cap your bottles then shake the "polishing" bottle 
to mix the fresh polish in with the older polish.  
If you plan to use it right away, you should let all the bubbles inside settle first.
You now have a fresh bottle to polish with and you can store 
your "refill" bottle somewhere away from direct sunlight and heat 
so you can use it again when you need it.
This way, you get one and a half bottles of the polish color out of the two bottles instead of only getting half of the color out of each bottle.

Keep all your polishes fresh this way.

I even keep a large bottle of base coat to refill the bottle I use regularly.

Using this technique, you won't degrade the integrity of the nail polish and it will be less likely to chip later as it wears on the nail.


I hope you've enjoyed the Nail Polish Series.  Send me a message if there is a topic about Natural Nails, Nail Care or Nail Polish that you would like some insight into.  I'm happy to share my knowledge and experience!

Friday, September 7, 2012

Caring for Your Nail Polish – Nail Polish Series – Part 2


     We all have that favorite bottle of nail polish in our private collections that we absolutely love but it’s beyond saving.  We can’t open the bottle, and if we can, it’s a goopy mess and our heart breaks when we hear it go “thud” in the garbage can.  How could we have let our favorite color get so bad.

     The key is to not let nail polish build up around the neck of the bottle or up into the cap.  When the polish builds up on the neck and cap of the bottle, it allows air into the bottle which then thickens the nail polish.  In Part 1, we learned how to revive that old bottle of nail polish that was hard to open and was practically too thick to use.  Now we are going to see how easy it is to prevent that from happening too fast.  And you don’t need to keep your nail polish in the refrigerator (see “Keeping Your Polish Fresh”)

     It’s all in how you wipe the excess nail polish from the brush before applying it to your nail.

This is not the proper way to wipe off excess nail polish.  


     This will definitely allow the nail polish to build up around the neck of the bottle very fast.  If you insist on doing it this way, be prepared to wipe off the neck of the bottle every time you polish, before you tighten the lid, to prevent it from getting into the cap.

An easy way to minimize polish on the neck of the bottle 
is to wipe off the nail polish this way.   


     You may need to clean this up every few times you use the polish because it you may still get a little polish on the neck of the bottle.  The nice part is that it won’t be as often and all your excess polish goes back inside the bottle instead of on the neck and inside the cap.

Watch for Part 3 in the Nail Polish Series “Maintaining Your Favorite Nail Polish”

Monday, September 3, 2012

Reviving Old Nail Polish - Nail Polish Series Part 1

       Working as a nail technician, you learn quickly that you need to maintain your nail polish collection for optimum use and to save $Money$!  Today I'm going to show you how to reclaim an old, and probably favorite, bottle of nail polish.  We all have something like this lying around.  When you shake it, you can barely hear the metal blending beads.  And trying to open it is nearly impossible.  I'm not saying every bottle of nail polish can be saved, especially if it is too far gone.  Once some of them have been saved, they still may not last as long as you want and eventually you will have to purchase a new bottle.  We’ll cover “Getting the Most Out of Your Nail Polish” in    Part 3.
Today, we'll be saving OPI's Ruble For Your Thoughts
It's pretty thick and I can barely hear the blending beads.
 For this task, we’ll need Polish Remover, an Eye Dropper, 
Polish Thinner and a Base Coat Nail Polish. 
     If you cannot open the bottle, one of the best methods I've found is to put polish remover inside the lid of the polish bottle.  Turn the bottle up-side-down and slowly drip polish remover down the side of the bottle, so that it runs down the side and fills the cap with remover.  Let it sit this way for about 10-15 minutes.  I found that this works better than hot water poured on the cap.  But keep that method in mind if this doesn't work easily.  Let’s just hope we don’t need a pair of pliers to grab a hold of the lid.  Do not use the pliers on the glass part of the bottle!
After you get the bottle open, you'll notice that if you 
try to apply the nail polish, it goes on "goop-ey".
Look at all the nail polish on the neck of the bottle and inside the cap.  
This is what was gluing your bottle shut.  
We'll need to clean this up first.


Remove the brush stem from the cap with a lint free paper towel 
soaked with polish remover.  
This will aid you with cleaning it easily.   
Then fill the cap with polish remover and let it soak and soften.
 Clean the neck of the bottle. 


 After 10-15 minutes, clean out the inside of the cap 
by stuffing the paper towel down inside and twisting the cap 
like you are tightening the cap onto the paper towel.  
You may need to re-soak to get all the nail polish 
out from the inside of the cap.
Now it’s time to thin the polish and make it work-able.  
Here, you will need a nail polish (or nail lacquer) thinner 
and a base coat nail polish.  
It is always optimal, but not always necessary, to use matching brands, 
such as OPI for the thinner.  I do not have an OPI base coat, 
I only have a Jessica base coat for this demonstration. 
Add enough polish thinner so that the blending beads move freely. 
*Note* Do not use polish remover as your thinner.  
It breaks down the polish but in a manner that 
the nail polish qualities become compromised. 
 In other words, your favorite nail polish will probably 
chip faster than it ever did before.
Now add a little of your base coat nail polish to increase adhesion 
to the nail and minimize the risk of chipping polish.
Replace the brush stem and the cap and tighten the cap on to the bottle.   
Shake the bottle vigorously to blend everything together

You will find that the polish will apply smoother 
with less streaking and last you a little bit longer overall.  
I hope you learned something from this tutorial.  
Stay tuned for Part 2 of the Nail Polish Series where 
I will show you how to easily prevent the build up of nail polish that 
threatens to thicken your polish once more called “Caring for Your Nail Polish”